Hardwood Floor Refinishing Mistakes That Can Make Floor Problems Worse
Hardwood floor refinishing mistakes can spread damage, weaken the wood, or ruin the finish when underlying problems go unchecked. HomeRemodelBellevue.link checks the floor condition first and matches the refinishing method to the wood and existing damage.
Request an EstimateWhy Refinishing Problems Start Before Sanding
Hardwood floor refinishing problems often begin with a rushed floor inspection. Sanding can hide moisture damage, remove too much wood, or spread defects across the surface.
We check the wood damage, board stability, subfloor, and existing finish before choosing a sanding process. Our team also looks for water stains, movement, and repairs that could affect the final wood finish.
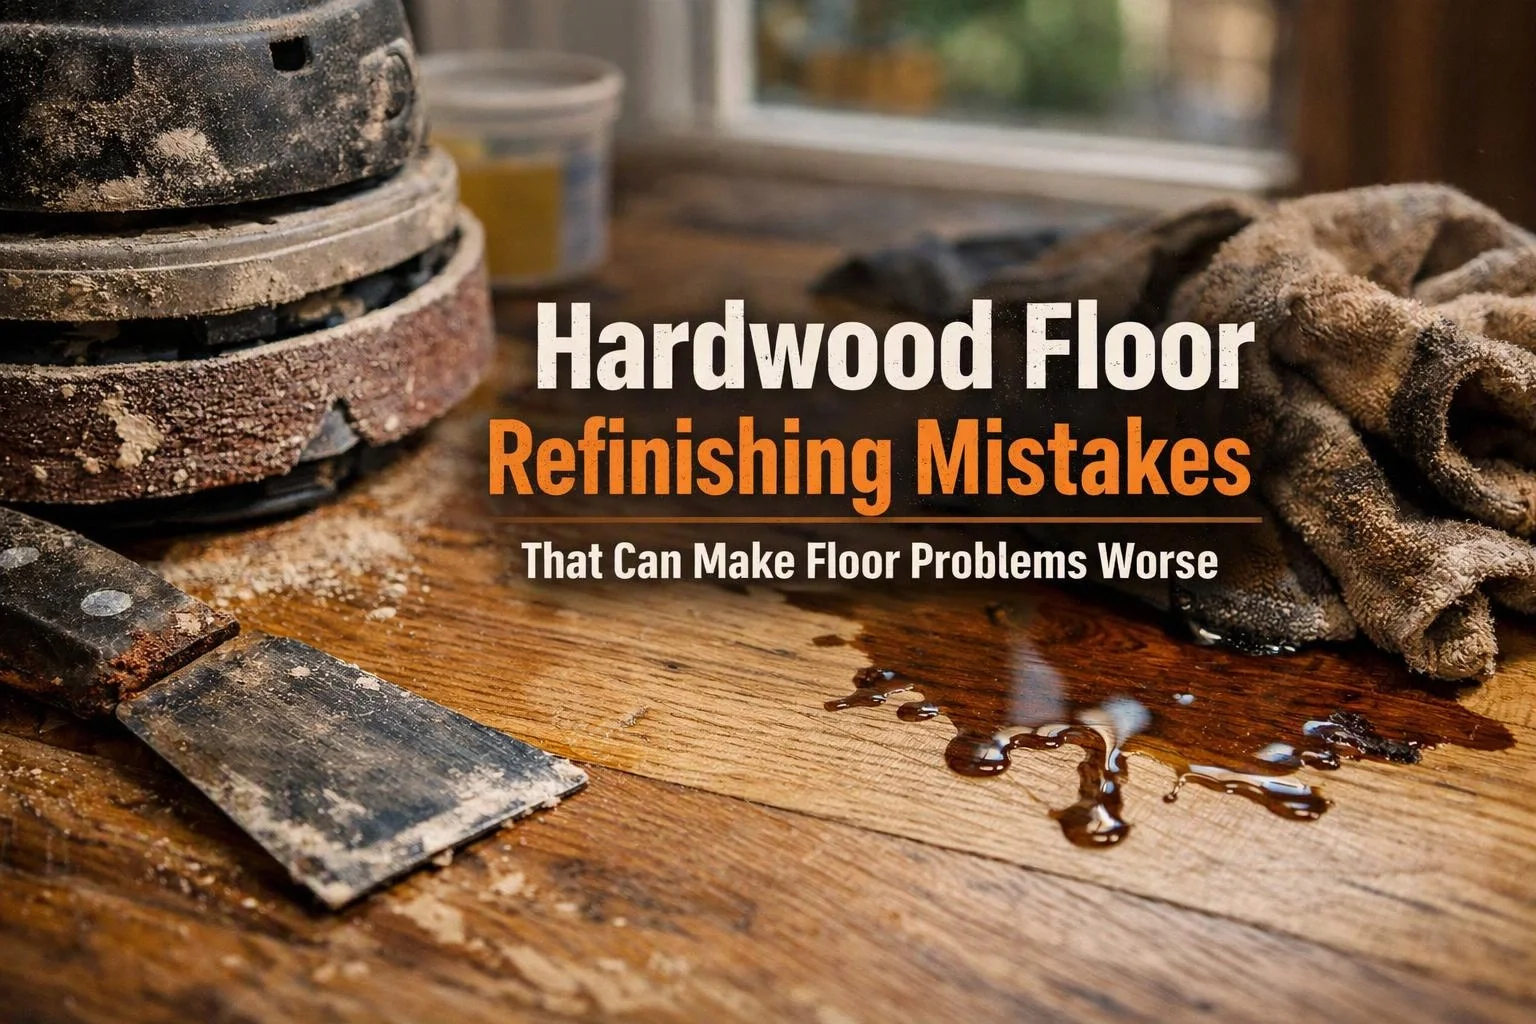
Our Hardwood Floor Refinishing service starts with a condition review. That step helps us decide whether refinishing, floor repair, or board replacement makes sense.
What Signs Show That Hardwood Floors Need More Than Refinishing?
Hardwood floors may need more than refinishing when boards are loose, badly cupped, water-damaged, or too thin for safe sanding.
A worn finish, light surface scratches, and dull color may respond well to refinishing. Deep scratches, dark water stains, loose boards, cupped boards, and buckled areas need closer assessment.
Structural damage can involve the boards, tongue-and-groove joints, or subfloor. We identify the damaged layer before recommending sanding or repair.
Hardwood Floor Refinishing Mistakes and the Fix for Each One
Floor refinishing errors can affect sanding, wood flooring, finish application, and repair decisions. Each problem needs a different correction.
We connect the visible damage to its likely cause. Then we adjust the sanding process, repair plan, or finish selection to protect the floor.
Mistake 1: Sanding Before Finding the Source of Moisture
Moisture damage can return after sanding when leaks or subfloor moisture remain active. Wood movement may also open joints or create new cupping.
We look for plumbing leaks, exterior water entry, and moisture below the flooring. Our team uses moisture testing to guide the repair decision before sanding begins.
The cost of correction depends on the moisture source, affected floor area, and repair depth. We resolve the cause first, then plan refinishing or board replacement.
Mistake 2: Sanding Cupped or Buckled Boards Without Assessment
Cupped hardwood floors often show a moisture imbalance between the board surfaces. Buckled boards may also press against the subfloor or nearby flooring.
We assess the moisture level, subfloor condition, and board stability before choosing a repair. Some boards may flatten after the cause is corrected, while damaged boards may need replacement.
Correction costs change with the number of affected boards, moisture source, and subfloor work. We don't sand unstable flooring until the movement risk is addressed.
Mistake 3: Removing Too Much Wood During Sanding
Excessive sanding can reduce the wear layer and expose weak areas. Tongue-and-groove flooring may lose support when sanding depth goes too far.
We check floor thickness, visible wear, and previous sanding marks before selecting the process. Our crew removes only the material needed to prepare the surface.
The correction depends on remaining floor thickness, surface damage, and whether board replacement is possible. Thin flooring may need a different repair plan or hardwood flooring installation.
Mistake 4: Using the Wrong Sanding Grit or Machine
The wrong sandpaper grit or machine can leave sanding marks, uneven cuts, or scratches across the wood grain. A drum sander and orbital sander also create different surface results.
We match the sanding method to the wood species, grain direction, old finish, and floor condition. Our team changes the process when the surface shows chatter or deep machine marks.
Correction costs depend on sanding depth, affected floor area, and the finish already present. We correct the surface before applying any new wood finish.
Mistake 5: Skipping Repairs Before Applying Finish
Loose boards, squeaks, gaps, and raised nail heads can remain visible under a new coating. Finish cannot stabilize a board that moves beneath it.
We complete board repair and secure unstable areas before surface preparation. Our team also handles gaps and exposed nail heads according to the floor's condition.
The cost changes with the number of repairs and the access to the subfloor. Repairing these problems early protects finish adhesion and reduces repeat work.
Mistake 6: Choosing Stain Without Testing the Wood
Wood stain can look uneven when the wood species absorbs color at different rates. Previous repairs, soft sections, and color variation can also change the result.
We test the stain color on a suitable area before applying it across the floor. Our team checks how the test responds to the wood species and existing surface.
Correction costs depend on whether the color can be adjusted during preparation or requires additional sanding. We discuss the expected color variation before selecting a wood stain.
Mistake 7: Applying Finish Over Dust or Contamination
Sanding dust, grease, wax, and cleaning residue can weaken finish adhesion. Contamination may leave rough spots, cloudy areas, or peeling floor coating.
We complete careful surface preparation before applying finish. Our crew checks the floor for dust and residue so the coating can bond to a clean surface.
The cost of correction depends on the contamination, coating condition, and preparation needed. We remove failed material when required before applying a new finish.
Mistake 8: Applying the Wrong Finish or Coating Too Thickly
Floor finish must match the wood, use conditions, and desired appearance. Polyurethane, water-based finish, and oil-based finish have different application and curing needs.
We choose the finish with attention to coating thickness, drying, and curing. Our team follows a controlled application process to reduce bubbles, streaks, and soft areas.
Correction costs depend on the selected coating, failed finish depth, and preparation needed. We remove or abrade problem areas when a new coat cannot bond correctly.
Mistake 9: Walking on the Floor Before the Finish Is Ready
Foot traffic and furniture can damage finish while the surface is still drying or curing. Early use may cause scuffs, dents, dull spots, or marks that become sealed into the coating.
We explain the care period for the selected finish and help plan access through the space. Our team also checks the surface before treating any finish damage.
Correction costs depend on the damaged area and whether the finish needs cleaning, recoating, or deeper preparation. Waiting until the coating is ready helps protect the completed work.
What Should Be Checked Before Sanding Hardwood Floors?
Before sanding hardwood floors, we check moisture, board stability, floor thickness, surface damage, and the existing finish.
This inspection helps us choose between refinishing, floor repair, board replacement, and hardwood flooring installation. It also prevents sanding from hiding a larger problem.
When Can Hardwood Floors Not Be Refinished?
Hardwood floors may not be suitable for refinishing when the boards are too thin, badly damaged, unstable, or made from a surface layer that cannot support sanding.
Thin hardwood flooring may have little usable wear layer remaining. Severe water damage or structural damage may also affect the boards and subfloor beyond what sanding can correct.
Veneer flooring requires special care because its surface layer may not support standard sanding. We inspect the material before recommending refinishing, board replacement, or hardwood flooring installation.
When Should You Call HomeRemodelBellevue.link Instead of Refinishing the Floor Yourself?
HomeRemodelBellevue.link should assess the floor when damage involves moisture, unstable boards, cupping, or uncertain sanding depth.
Our team can separate surface problems from structural concerns. That assessment helps prevent added damage from an unsuitable refinishing method.
How HomeRemodelBellevue.link Prevents Refinishing Mistakes
HomeRemodelBellevue.link starts hardwood floor refinishing with a floor assessment, not a sanding machine. We document board condition, moisture concerns, floor thickness, and the existing finish.
Our team builds a repair plan before sanding begins. We address loose boards, moisture damage, deep scratches, and contamination before choosing the finish.
We then match the sanding process and finish selection to the wood. Our crew checks surface preparation, finish adhesion, drying, and curing before the floor returns to normal use.
What Changes the Cost of Correcting Refinishing Damage?
The cost of correcting refinishing damage depends on the affected floor area, repair depth, moisture source, board condition, and finish needed.
Our quote reflects the actual correction plan. We explain the work included, the areas requiring repair, and the finish approach selected for the floor.
| Cost driver | Why it matters | Possible correction |
|---|---|---|
| Affected floor area | More damaged flooring requires more preparation and finish work. | Localized repair or broader refinishing |
| Moisture source | Active moisture can cause damage to return. | Moisture correction and affected board repair |
| Board condition | Loose, cupped, or buckled boards may need more than sanding. | Board repair or board replacement |
| Sanding depth | Deep marks and thin flooring limit safe correction options. | Controlled sanding, repair, or new flooring |
| Finish selection | Different coatings need different preparation and curing plans. | Finish removal, preparation, and recoating |
To request an exact quote, contact our team and describe the visible damage. HomeRemodelBellevue.link can review the floor condition and explain the correction plan.